Brining
Make your cooked fish look even more delicious by quickly dunking it in brine. Just mix a 2 tsp of salt in one cup of water and fully submerge your fish for as little as 10-15 minutes before cooking to prevent white albumin from oozing out.
Marinating
Marinating can add a lot of flavour to fish. But if you leave it in for too long, it can become mushy, or the acidity in the marinade can accidentally cook your fish. If you’re using a recipe, always follow the recipes marination guidelines. But if you’re experimenting with your own, don’t marinate your fish for more than 30 minutes, just to be safe.
Equipment
Hinged Seafood Rack: A wire cage that holds fish so you can flip it without breakage.
Tongs: The best way to flip smaller fish during cooking.
Seafood Scissors: Use it to trim and cut small fish.
Long Metal Spatula: A great way to flip your fish without it falling apart.
Pliers: The easiest way to pull out any pin bones your fishmonger might have missed.
Fish Poacher with Lid: A specially-shaped pot designed to hold a whole fish for poaching.
How to fillet a fish
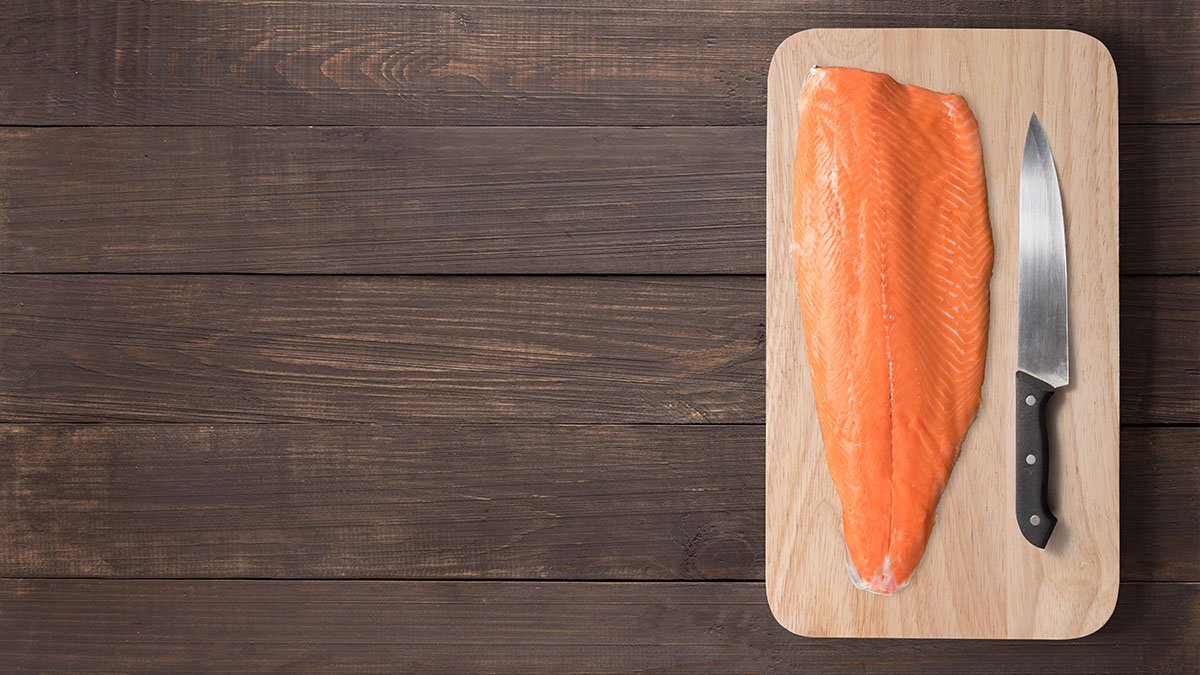
Believe it or not, learning how to fillet a fish is a very useful skill. In addition to wowing friends and family on camping trips, filleting at home is also very economical. You get more bang for your buck, plus the bones can be used for fish stock.
Here’s how to fillet a round fish (like Salmon and Bronzini):
- If you’re unable to get scaled fish from your fish monger, lightly scrape the scales off your fish with a fish scaler, from tail to head. Rinse your fish thoroughly after scaling.
- Trim the fins by the head and any other fins you find along the top and belly of the fish.
- With the tip of your knife, pierce the stomach of your fish from tail to head. You can use the small hole by the tail as a guide. Remove the contents and rinse your fish thoroughly.
- Remove the head by making a long cut around the head and just behind the gills.
- With the tail of the fish toward you, run your knife along the spine from the head in smooth slicing motions to separate the fillet. Lift the fillet so you can see your progress.
- When you reach the widest part of your fish, let your knife follow the shape of the fish and slice away from the bones.
- Turn your fish over and repeat with the other side. This time work from the tail and toward the head.
How to shuck oysters
Once you get the hang of it, shucking oysters is surprisingly easy—and delicious. Here are a few simple tips and tricks to get you shucking like a pro:
Prepping oysters
- Buy the freshest oysters possible.
- Store your fresh, unopened oysters by covering them with a wet towel. Don’t store them on ice, or in an air-tight container.
- Clean your oysters by putting them in a colander and rinsing them under cold, running water. Scrub off any mud with a brush.
Equipment
- Protective glove for the hand that will be holding the oyster
- Oyster knife (do not use a regular knife)
- Crushed ice
Shucking oysters
- Hold the oyster cup-down in your hand or a towel on a steady surface.
- Make sure the back hinge facing you.
- Insert the tip of the oyster knife in the hinge and push down. Twist the knife slightly to the right. The top shell should be released.
- Slide the knife inside the oyster and move it along the roof of the top shell to cut the oyster free.
- Remove the top shell.
- Slide the knife along the inside of the bottom half of the shell to loosen the oyster.
- Serve on crushed ice immediately.
Something fishy about your seafood?
If your fish or seafood has a slightly fishy odor, you can relax—it’s still good. Almost all seafood contains a compound called trimethylamine oxide (TMAO) that begins to turn into trimethylamine (TMA) after they die. To get rid of the fishy smell, give your seafood a quick, 20-minute soak in some milk. The milk’s proteins will bind to the TMA and remove the fishy odor. Don’t forget to pat your seafood dry after it’s removed from the milk.


